


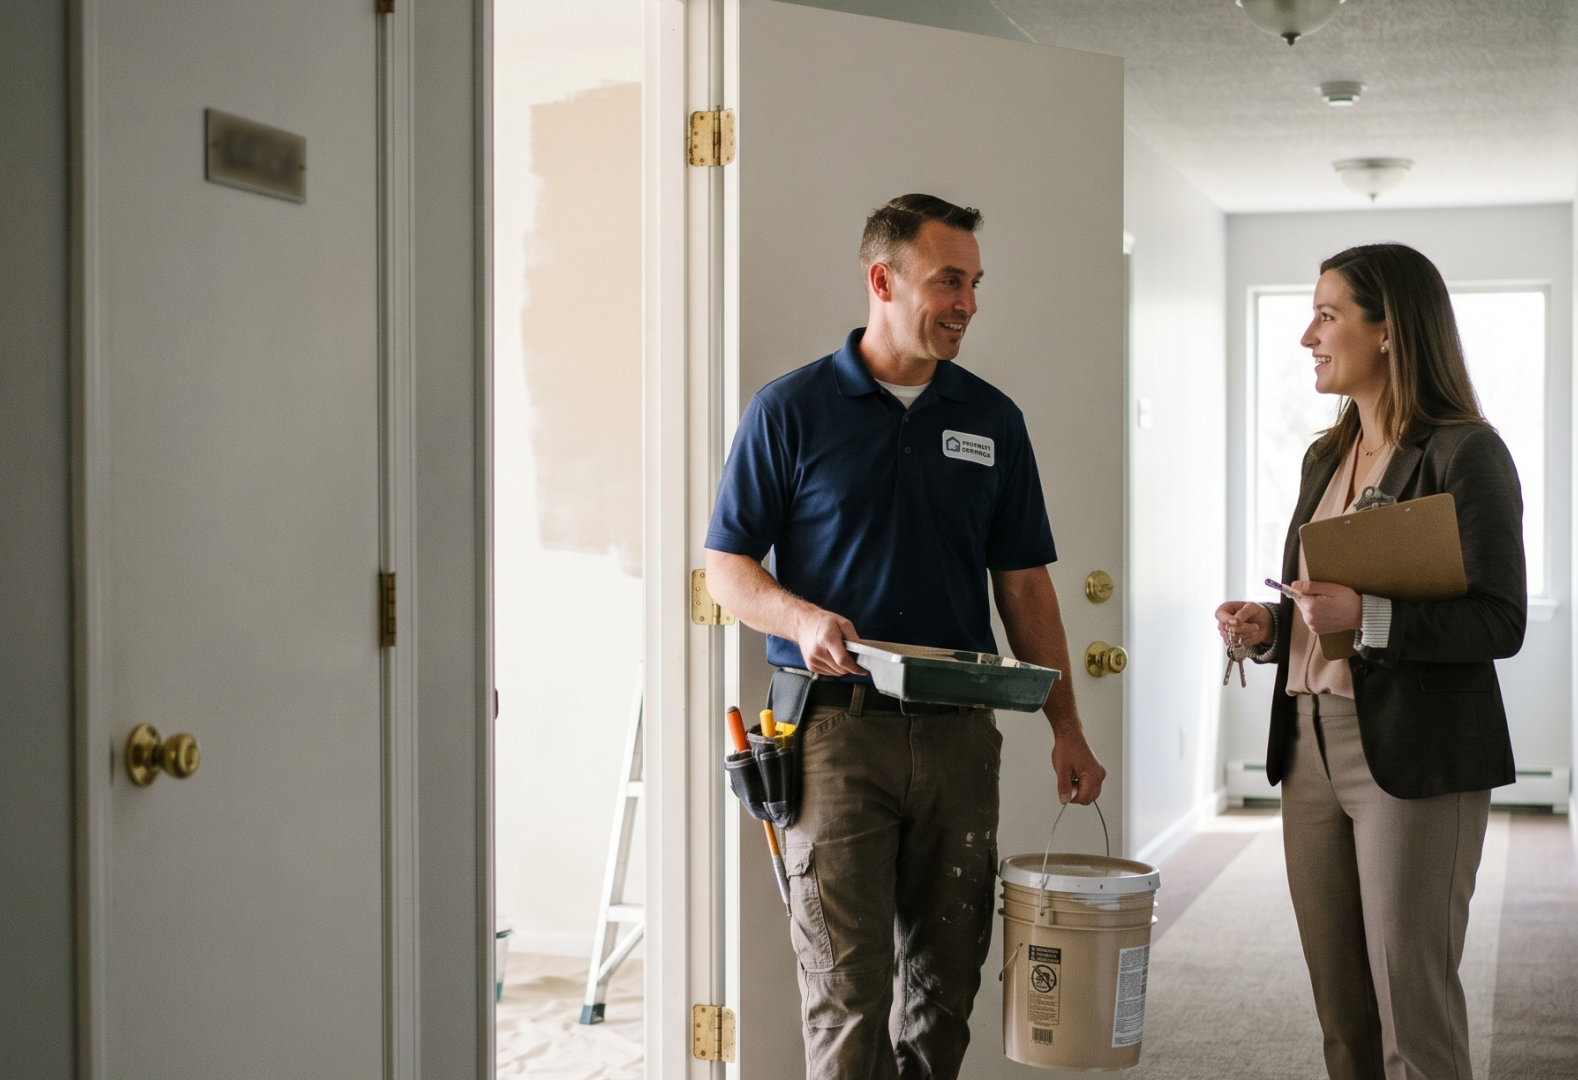


The moment a resident hands back the keys, the clock starts. Make ready is the process that turns an empty unit back into something you can market and hand off to the next resident — and how fast you run it has a direct line to your bottom line.
This guide breaks down what make ready actually means, the different types you'll run depending on the unit's condition, a full step-by-step process, realistic timelines and cost ranges, and ready-to-use checklists for inspections and task boards. Turnovers don't have to drain your budget if you've got the right process — and the right tools — behind them.
What Is Make Ready in Property Management?
A make ready is essentially a reset for a rental unit. Once a resident moves out, your team has to get that unit clean, safe, and leasing-ready for whoever's moving in next.
During the turnover, your maintenance technicians inspect the unit, document its condition, and bring it up to your leasing standards. By the time they're done, it should look — and function — like new.
Maintenance crews or outside contractors usually handle the hands-on work, while the property manager or maintenance supervisor oversees the results and signs off. You'll hear this called “the turn” or “rent-ready” on most properties — same process, different name.
Why Make Readies Matter
How fast you turn a unit often decides whether you hit your occupancy and revenue targets for the year. Every vacant day is lost income, plain and simple. A tight make ready process keeps that income steady — and residents who move into a unit that feels genuinely move-in ready tend to stick around longer.
There's also a documentation angle that's easy to overlook:
- A faster turn protects cash flow and keeps vacancy loss to a minimum.
- High-quality work upfront means fewer maintenance and service requests down the line.
- Photo documentation of safety checks gives you a paper trail if a dispute ever comes up.
Make Ready Types by Scope
Not every turn needs a full gut job. Breaking make readies into categories lets you match the right level of work to the unit's actual condition and your leasing goals — driven by how fast you need the unit back on the market, what budget you're working with, and your long-term plans for the property. An empty unit costs you money every day it sits, so speed is almost always part of the equation.
| Scope | Typical Tasks | Typical Timeline | Cost Range (US Market) |
|---|---|---|---|
| Standard make ready | Surface cleaning, small repairs, paint touch-ups, photos | 1–5 days | $150–$800 |
| Full make ready | Deep repairs, full-unit painting, appliance fixes, flooring | 3–10 days | $500–$3,000 |
| Renovation-level turnover | New flooring, kitchen or bath upgrades, capital projects | 2–8+ weeks | $2,500–$20,000+ |
| Preventive make ready | Scheduled maintenance, part replacements, seasonal prep | Varies by schedule | Budgeted in annual CapEx or OpEx |
Standard Make Ready
This is your speed play — do just enough to get the unit back on the market today or tomorrow.
Standard turns cover basic cleaning, quick fixes, and paint touch-ups, with photos to document everything. It's the right call when the outgoing resident left the place in decent shape, or when a week of lost rent costs you more than the deep clean would've been worth.
This approach earns its keep in hot markets, where every extra day of vacancy is money walking out the door.
Full Make Ready
A full make ready protects your asset's long-term value, not just its next lease. If a quick wipe-down clearly isn't going to cut it, this is your move.
Expect appliance repairs, full repainting, and more involved maintenance work here. You'll want this level of turn when the unit shows real wear, or when your team has a little more breathing room in the schedule.
It costs more upfront — but spending $1,500 now usually beats a $5,000 emergency repair six months from now.
Renovation-Level Turnover
Think of this one as a capital investment, not a repair job. You're not just fixing the unit — you're repositioning it.
New flooring, countertop replacements, full kitchen and bath overhauls — this is where those projects live. It makes sense when you're targeting a higher-paying renter segment or the unit took serious damage from the previous resident.
It takes longer than a standard turn — sometimes a few months — but the rent increase on the back end can make it worth the wait.
Preventive Make Ready
Sticking to a maintenance schedule keeps you out of budget-blowing emergencies. Nobody wants a 2 a.m. call about a dead furnace.
This is where your team services HVAC systems, swaps filters, and replaces aging appliances before they actually fail.
If you're managing a larger portfolio and want predictable maintenance spend across the board, this is the category to lean on. Servicing a furnace in October, for example, is a lot cheaper than replacing one mid-freeze in January.
When to Use Each Type
- Choose a standard make ready when the unit's in good shape and you need it leased fast.
- Go full make ready when the unit needs a real refresh to meet what renters in your market expect.
- Pick a renovation-level turnover when you're repositioning the unit for a higher rent.
- Stick with preventive make ready to keep operations predictable and cut down on weekend repair calls.
Make Readies by Property Type
Every property type needs its own spin on make ready. The core steps stay the same across the board, but the specific tasks and labor requirements shift depending on what you're managing.
Residential Apartment Make Readies
In multifamily communities, the final finishes tend to matter most to leasing.
- Crews scrub floors, swap filters, and test every appliance.
- Larger communities often require scheduling elevator access for contractors and cleaning shared hallways afterward.
- Photos get taken immediately, while everything still looks its best.
Single-Family Rental Make Readies
Curb appeal carries a lot of weight for standalone homes.
- Maintenance covers yard work, roof checks, and pressure washing the driveway.
- Testing the garage door opener is non-negotiable, and the water supply line needs a check too.
Commercial Property Make Readies
Commercial spaces follow a different rulebook entirely — the scope depends on lease terms and what the incoming tenant needs.
- You might be moving walls or installing new signage.
- Fire alarm and electrical work almost always calls for licensed specialists, given the complexity and code requirements.
How a Typical Unit Turnover Flows
A standard turnover cycle runs through move-out, inspection, repairs, and re-leasing — in that order.
- The clock starts the moment keys hit the front office and your leasing team is notified.
- Your maintenance team walks the unit and photographs every item that needs attention, building out the deficiency list.
- A lead technician or supervisor sorts that list into work orders.
- Technicians and outside vendors handle the repairs and cleaning — nobody wants to show a unit that still looks broken.
- An inspector walks the unit one more time with a make ready checklist to sign off.
- Once it's approved, the unit goes live and the new resident gets their keys.
A visual timeline of these six steps, posted somewhere your whole team can see it, keeps everyone working off the same page.
The Complete Make Ready Process
The turnover clock starts the second a resident moves out. From there, your team checks for damage, fixes what's broken, and cleans every surface before the final walk-through. A documented make ready process is what keeps details from slipping through the cracks — and gets a new resident in the door faster.
Move-Out Inspection
- Every scratch, dent, and safety issue gets logged, along with HVAC and plumbing checks.
- This walkthrough produces a deficiency list, time-stamped photos, and a rough repair cost estimate.
- Any major safety risk jumps to the top of the priority list before general maintenance even starts.
Damage Assessment & Service Requests
- Separate urgent issues — a leaking pipe, a faulty outlet — from minor cosmetic scuffs to keep the workflow logical.
- Clear photos and exact room locations on each service request help contractors show up with the right tools the first time.
- Tackling heavy repairs before the cleaning crew arrives keeps teams from working over each other.
Cleaning & Repairs
- Structural and mechanical fixes typically get handled first, with cleaning and paint touch-ups following.
- Grouping similar tasks across units saves your crew unnecessary back-and-forth travel time.
- Build a day or two of buffer into the schedule — final inspections sometimes catch a missed spot that needs a quick fix.
Final Inspection
- Run a full QA pass: flip switches, test the stove, photograph proof that everything's safe and functional.
- Capture wide shots your leasing team can use for listing photos, plus close-ups of the specific repairs you just paid for.
Ready-to-Lease Approval
- The unit gets the green light once the maintenance lead signs off, the leasing agent confirms it's market-ready, and your software is updated.
- From there, it's straight to listing the unit for tours and cutting new keys.
How Long Does a Make-Ready Take?
A standard turn usually runs 1 to 7 days. A full make ready typically takes 3 to 14 days. Renovation-level work can stretch across several weeks — sometimes months — depending on scope.
A few things move that timeline more than anything else: how much labor the job requires, contractor availability, and how fast you can get parts and materials delivered.
How Much Does a Make-Ready Cost?
Total cost comes down to three things: how the previous resident treated the unit, what labor runs in your local market, and how much rent you're losing while the unit sits empty.
A light cosmetic refresh can run under $1,000. A full make ready usually lands somewhere between $500 and a few thousand dollars. Renovation-level projects are a different category entirely — expect $5,000 to $20,000 or more, depending on the finishes you choose.
Common Challenges
Turns hit snags more often than anyone wants — a part's out of stock, a vendor misses their window, or there's damage hiding behind a wall that nobody caught during the first walkthrough.
These setbacks mean longer vacancies, lower income, and frustrated incoming residents when a move-in date slips.
Delays & How to Avoid Them
- Stock common repair parts on-site or in a nearby warehouse, and hold vendors to firm scheduling windows.
- Build photo proof and specific arrival-time requirements into your make ready checklist for every contractor.
- Track everything in a centralized system that shows real-time status and photos — it's the most reliable way to catch problems before they become delays.
The Ultimate Make Ready Checklist
Drop these checklist blocks straight into your mobile app or property management software — they're built to be used as-is.
Cleaning Checklist
A consistent room-by-room baseline keeps every turn at the same standard. Check off each item as you go and snap photos to verify the work.
- Scrub entry floors, wipe light fixtures, confirm the peephole's clear and all locks function properly.
- Dust every surface in the living room, then vacuum carpets thoroughly — grime in the window sills is a dead giveaway of a rushed job.
- Scrub the inside of every kitchen appliance, wipe counters and cabinets with disinfectant, and clear the sink and garbage disposal area.
- Deep-clean bathroom tile grout, scrub the toilet, swap shower liners, and check the showerhead for mineral buildup.
- Mop bedroom floors after closets are done, wipe down baseboards, and confirm closet doors slide freely.
- Set up staging items once trash is cleared and the air smells neutral, then capture wide-angle photos for the new listing.
Maintenance Checklist
Basic system checks and small repairs now save you from annoying callback requests once a resident moves in. It's a lot easier to fix a leaky faucet in an empty unit than to schedule around someone's work day.
- Replace HVAC filters and run both heat and air conditioning to check for unusual noises.
- Test every electrical outlet, confirm GFCI outlets trip correctly, and replace burnt-out bulbs.
- Check that sinks and showers drain quickly, look for moisture under pipes, and confirm the water heater pilot light is lit.
- Oil squeaky door hinges, replace sticking deadbolts, and verify door closers work properly.
- Fix loose flooring tiles before they become a trip hazard, patch damaged baseboards, and deep-clean carpets.
Every item on this list needs a time-stamped photo to meet acceptance criteria. Note any ordered parts directly in your task comments.
Safety & Compliance Checks
Treat these as non-negotiable. Documentation here is what protects you if an inspection or dispute comes up later.
- Replace batteries in smoke and carbon monoxide detectors and manually test each one.
- Confirm windows open fully for emergency egress and all locks are secure.
- Log test dates and detector serial numbers in your permanent records, with time-stamped photos for audit readiness.
Appliances & Fixtures Checklist
Test every appliance to confirm it's working — or flag it for replacement.
- Fire up stove burners and verify oven temperature; clean igniters and knobs.
- Confirm the refrigerator holds the correct temperature, check door seals for cracks, and clean accessible coils.
- Run a test cycle on the washer and dryer, check hoses for leaks, and clear lint from the dryer vent.
- Log the age of HVAC units and water heaters to help decide between repair and replacement.
- Skip the repeat repairs — an appliance that breaks every few months usually costs less to replace outright.
Rental Checklist for Property Managers
- Secure locks and clear safety hazards first.
- Confirm the unit is clean and odor-free before taking listing photos.
- Run through locks, room cleanliness, lighting, HVAC, and appliances in that order before sign-off.
For Property Managers Running Portfolio-Wide Checklists
Scaling across multiple properties takes process controls and clear KPIs — without them, turn quality will vary site to site.
- Log move-out date and time of first inspection as trackable fields, along with total service requests and days-to-re-lease.
- Track average cost per turn and vendor on-time rates as core KPIs, and flag any rework requests within 30 days.
- Apply the same templates and process controls across every property in the portfolio, with photo evidence required and automatic status updates built in.
- A unit doesn't clear acceptance criteria until the final QA photo set is uploaded and a manager signs off on quality.
FAQs
What Is the Difference Between a Make Ready & Unit Turnover?
These terms get used interchangeably on-site, and for good reason — they describe the same job from two angles. Make ready usually refers to the specific checklist and quality standard your team follows. Unit turnover describes the full operational cycle, start to finish. Most property managers use both terms for the same process.
How Do Property Managers Prioritize Make Ready Tasks?
Safety issues always come first. After that, the focus shifts to repairs that could affect a prospective resident's decision to sign a lease — what gets prioritized next usually depends on local market demand and how competitive the leasing environment is.
How Long Does a Make Ready Take?
A standard turn typically takes 1 to 7 days. A full make ready usually runs 3 to 14 days. Major renovations take longer, largely due to material lead times and parts shipping.
What Is Included in a Make Ready?
The process starts with an inspection to flag necessary repairs, which generates a list of service requests, a deep cleaning pass, and safety checks ahead of final sign-off. Quality assurance photos are the last step, confirming the unit's ready for the next resident.
Who Is Responsible for Make Readies?
Owners or property managers set the scope. From there, the maintenance team or outside contractors handle the labor, and leasing agents manage the final handoff — including getting new keys cut for the incoming resident.
How Much Does a Make Ready Cost?
Costs vary based on what the unit actually needs. A light refresh typically runs under $1,000, while full turns often land in the low thousands. Renovation-level work can easily exceed $5,000. Materials, labor, and lost rent are the three biggest cost drivers — worth budgeting for upfront rather than discovering mid-turn.
Lauren Seagren is the Content Marketing Specialist at HappyCo, where she leads the company’s content strategy and storytelling across channels. She develops and optimizes campaigns, blogs, case studies, and enablement materials, while building the systems that help content scale and align across teams. Prior to HappyCo, Lauren led content and brand strategy across SaaS startups, creative agencies, and growth-stage companies, bringing more than a decade of experience driving measurable growth across B2B and B2C organizations.


